After create the blog, of course we want to show it to others and let people search it. Today we will look at how we could put our website on google.
Basic introduction to Google Search Engine
Before we start, it is necessary for us to have a basic understanding about google search engine.
Crawling
Google is using crawl programs which is called Googlebot to crawl new websites and updates on the internet, The bot regularly searches and store new sites into a huge database.
Index
Once it have your url searched by Googlebot, then it will try to extract the information within the website, such as the title, images, videos, out links, and other text contents. From now your website could be store into Google Index and being searched.
Search
Every time a user searches on google, google ranks them using a specific set of algorithms based on user’s location, language, device, or previous searchs to generate the results.
So for us, all we have to do is make our website recognized by Google, and we don’t need to pay attention to the follow-up work.
Actions!
1. Verification
First, have a check at if your website is already indexed by google, try type the following command in the url search bar.
site:<your_website_url>
If you see Google Search Console, it means your website is not indexed, click in the console.

Type in your url in the right side.
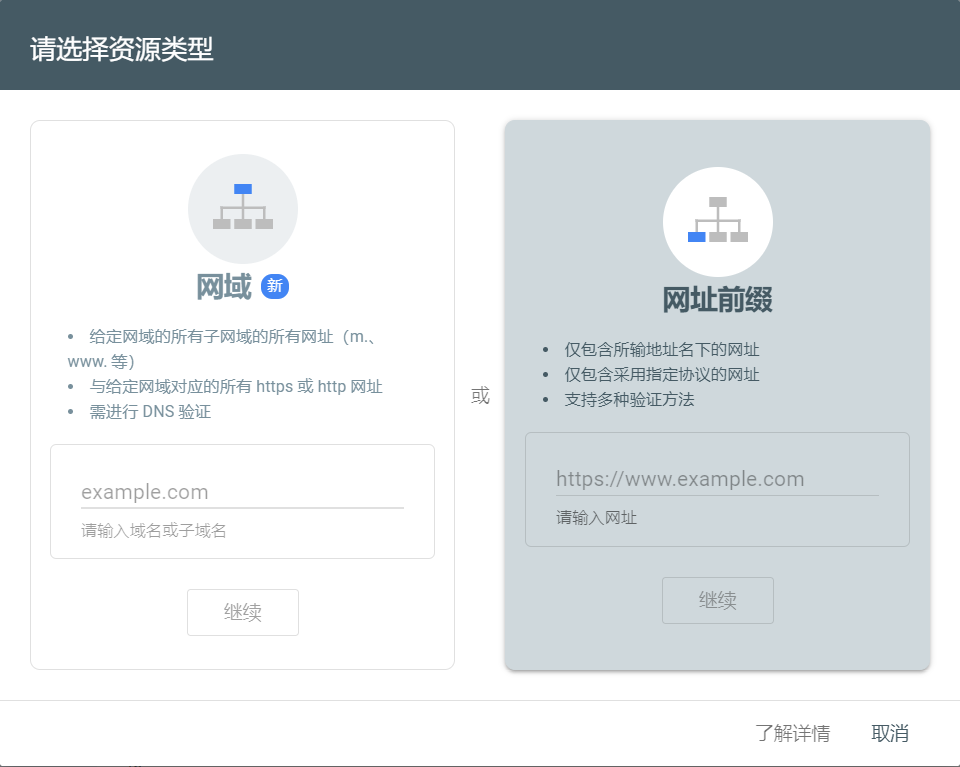
Google needs to verify if you are the owner of the website, they provides 5 ways of verification, the default way is to put an html file into our website folder. If you are doing this for a Hugo blog, simply download the file and put it into the static folder to your local hugo path, you could also copy the <meta> label that google provides into <head> labels in your code.
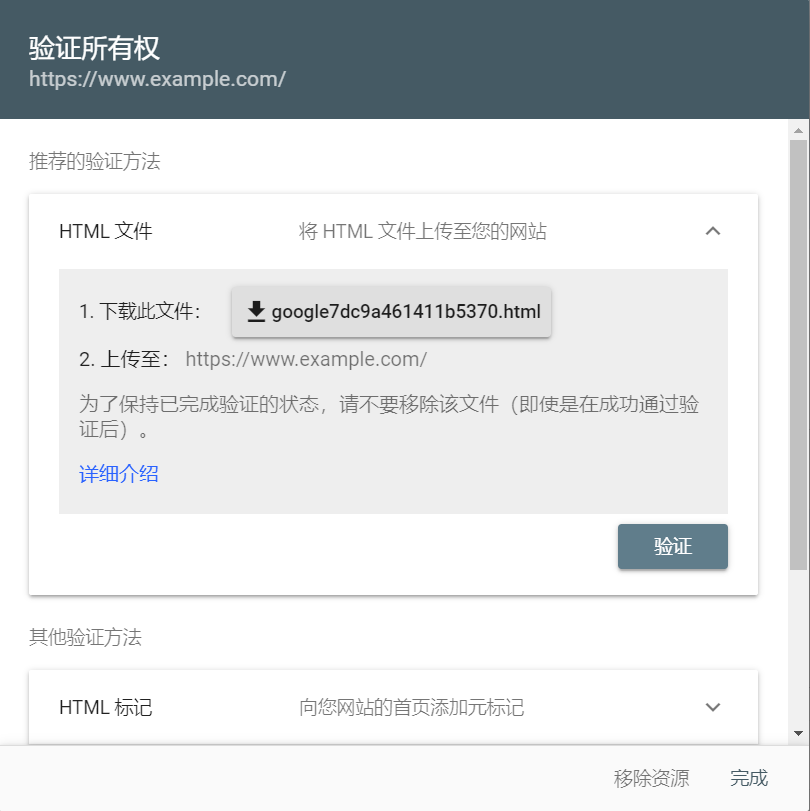
Now, rebuild the blog, hugo will help us put this file into the public folder. Then we have to push our changes (push to Github if you follow my last blog). Google should be able to pass our verification in a in a very short time, then we could see a page like this:
2. Robots.txt
Robots.txt tells Google crawler or other search engine’s crawler which web page in your website could be access, and it can be used to control the traffic to your website. Go to your hugo.toml or config.toml and add this line at the top part:
enableRobotsTXT = true
Rebuild the blog, you will see robots.txt in your public folder.
Upload this change, google will be able to detect the robots.txt now (But it takes some times). Once Google detects the file, the setting page of your Google Search Console will look like this:

3. Sitemap
Sitemap is a file describing the structure of a website, it includes information about the pages you have, which page is more important, updated time and relationships between them etc. By having this file in your source code, Google crawlers could crawl and index webwite more efficiently. Hugo has a default template of sitemap, a ``.xmlfile will create each time you build by usinghugo` command, here we need to add it to Google Search Console, first let’s find the path of your sitemap, you should be able to find it in this format:
<your_website_url>/sitemap.xml
Type it in your url search bar, a document tree will show in your screen.
Now, open your google search console, find the Sitemap on the left selection bar, input the path and submit.

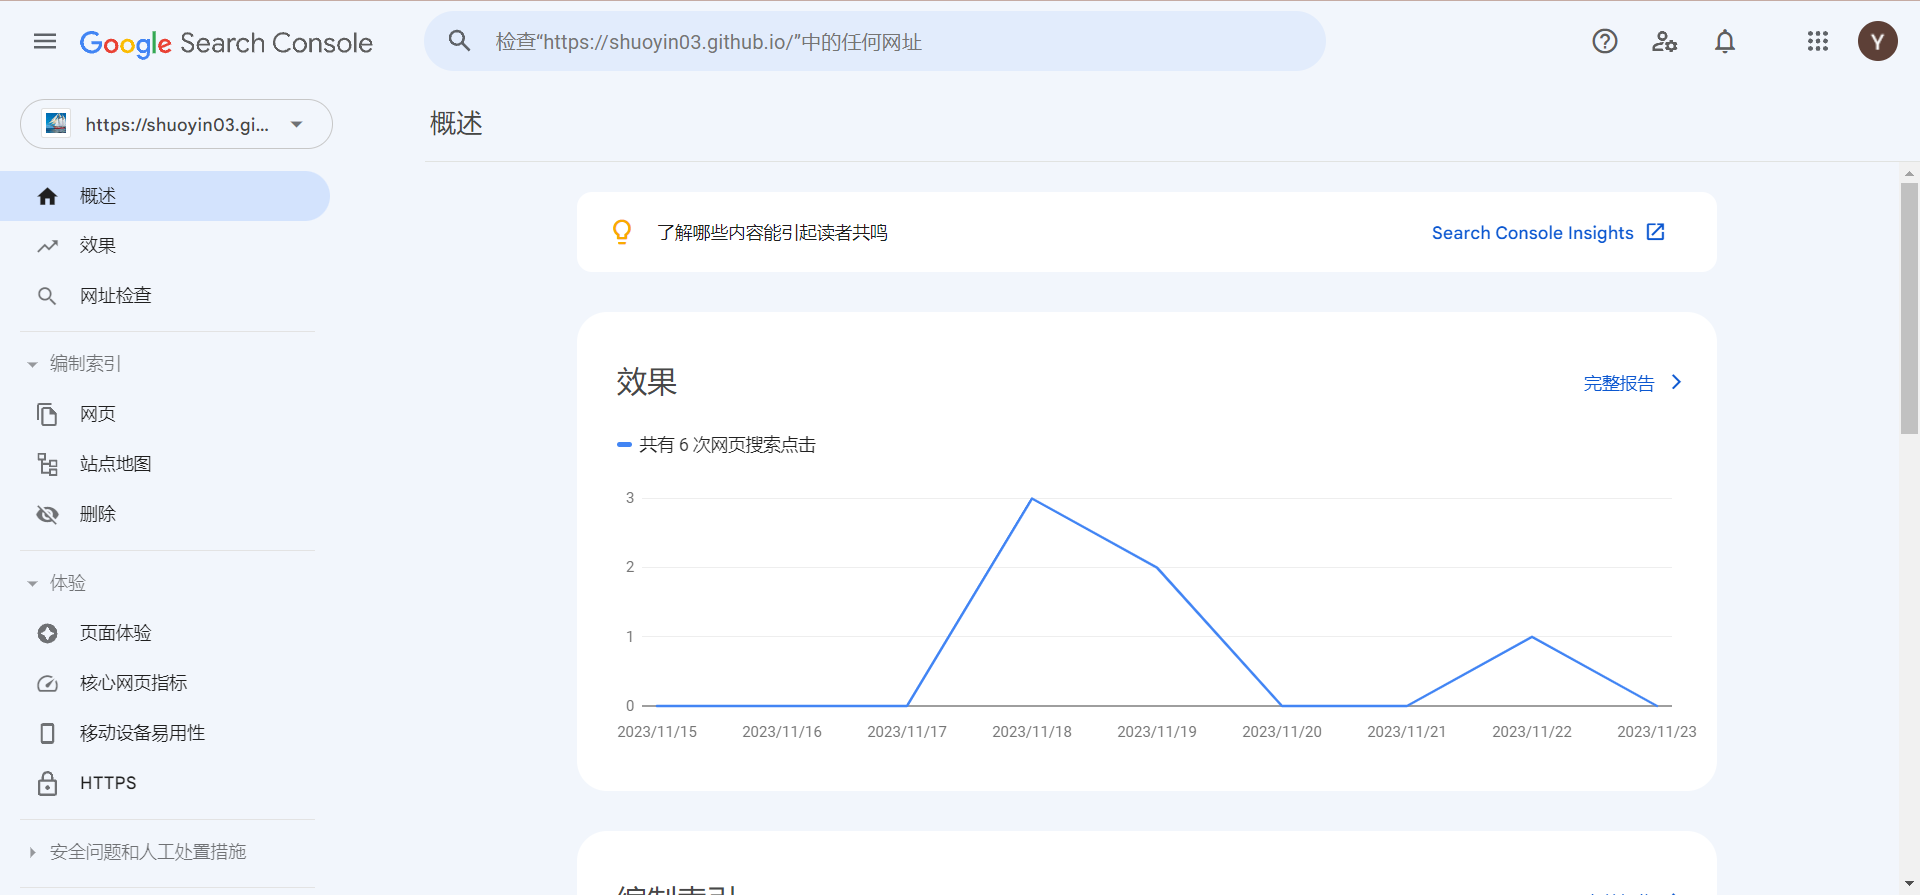
4. Waiting…
Approximately one day after, you should be able to see your website by searching your website title. If you want to increase the speed, search you website url in the top search bar.
 In the page opened, you could submit a request to let Google index your website. This process wouldn’t take too long.